Catch-and-release fishing is key to conservation in the U.S. Anglers often choose to release fish. Managers count on them to follow good practices. This helps keep fish populations healthy for the future.
Research warns of risks from long fights and too much air exposure. Studies, like one by Murray Cook-Casselman, show a high death rate. Using safer hooks and keeping fish wet can lower these risks.
Best practices for catch-and-release start before fishing. Have tools ready like pliers and nets. Knowing common injuries helps you make choices that aid fish survival.
Why safe handling matters for catch-and-release survival
Catch-and-release is a key part of conservation fishing. But simply letting a fish go doesn’t ensure it will survive. How we handle fish when we catch and release them affects their chances of living. Good handling can reduce stress and injuries, helping fish go back to eating and making babies.
Studies show that released fish face real dangers. Research led by Casselman found that on average, 16.2% of released fish don’t survive. Studies by Muoneke and Childress found that even fish that swim away can later die from internal damage. Often, fish die later from being too tired, having unbalanced body chemistry, high blood lactate, or damaged gills from being out of water.
What we do when catching a fish matters a lot. Where the hook is, if the fish is bleeding, and how deep it was caught can change its survival chances. Fish caught deep or bleeding badly are more likely to die later. Handling fish quickly and keeping them out of air as little as possible helps them survive better.
It’s not just about whether fish live or die. Studies show that even fish that survive can have problems. Clapp and Clark’s research showed some fish grow slower after being released. Steven Cooke and his team found that largemouth bass might leave their nests or defend them less after release. Hurt fish may also get sick more easily, which is bad for them and the fish population.
These research findings help set fishing rules and teach anglers how to handle fish properly. In the US and places like Alberta, managers say good handling helps keep fish populations healthy. Rules like limits on how many fish you can keep, size requirements, and closed seasons protect fish. Educating anglers on how to handle fish right is key to keeping fish populations strong.
- Handle fish quickly and keep them in water when possible to cut air exposure.
- Use appropriate tackle to shorten fight time and reduce physiological stress.
- Follow local rules and best practices promoted by fisheries management agencies to support population resilience.
Preparing before you fish: gear, planning, and local regulations
Good preparation helps avoid long battles and protects fish. Always check the fishing rules and regulations before heading out. Make sure you have your license and know the limits and seasonal rules for your fishing spot.
Choose your gear based on the fish you’re after to reduce their struggle. For big fish like pike or catfish, go for stronger line and rods. For smaller ones like trout, use lighter gear. Barbless hooks or circle hooks help prevent injuries to the fish.
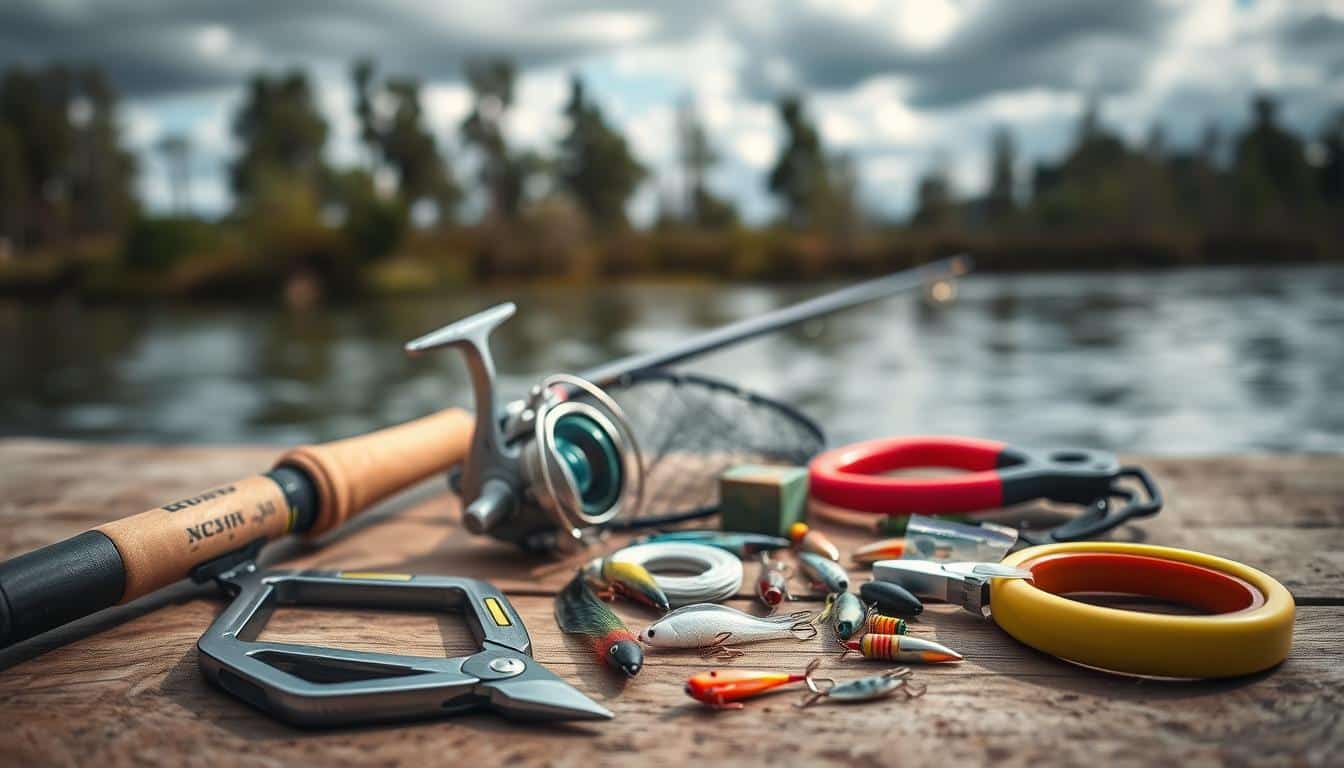
Have a release kit ready to use quickly. It should have tools like pliers, a jaw spreader, and a device to help fish adjust to deep water. Include a net with a rubber coating and a soft cloth or gloves to handle fish gently.
Do these checks before you start fishing:
- Look up fishing rules for your specific spot.
- Check your gear, including knots, leader strength, and drag settings.
- Organize your release tools so you can get to them easily.
Plan your fishing trip carefully. Try to avoid hot weather or when fish are under stress. Knowing the rules and having your gear ready reduces the time fish spend out of water, helping them survive after being released.
Safe landing techniques to minimize stress
Bringing a fish in properly can really help it survive after being released. Simple steps and the right tools mean you can handle fish less. This keeps their protective coat, gills, and energy better.
Choose nets and set them up before the fight. Go for nets with a rubber coating and enough depth. This way, fish stay underwater while you remove the hook and get them ready to go back. Whether on a lake shore or in a boat, be just as careful. Have tools like pliers, a dehooker, and a wet measuring board nearby. This avoids scrambling once you’ve caught the fish.
- Opt for deep nets with a rubber cover to keep fish scales safe.
- Try to leave fish in water as you remove the hook.
- Place your tools close so fish aren’t out of water too long.
Tune tackle to reduce fight time. Heavier lines and bigger hooks help end fights sooner, which is better for the fish. Shorter battles mean fish are less likely to suffer from too much stress later. Choose your rod, line, and reel carefully to catch fish more quickly and safely.
- Adjust the drag so fish tire without escaping.
- Pick wire or fluorocarbon leaders for toothy catches.
- Check and replace worn knots and lines before you head out.
Adapt to common landing scenarios. Be ready with your net if landing from shore and keep a path clear. When in a boat, clear the deck and have tools like a descending device nearby. Kayak fishers need to plan their approach, keep a hand free for the net, and practice handling while fishing from a kayak. This ensures smooth and swift netting.
Scenario tips at a glance:
- From the shore: move slowly, scoop from below, measure fish in the water.
- In a boat: guide fish close without lifting over the side, unhook in the net above water.
- Using a kayak: keep it steady, scoop smoothly, and pick a net that keeps the fish wet.
Small tweaks in how you use your gear can make a huge difference. Choose nets that are kind to fish, set your tackle to end fights quickly, and practice your landing technique. Your actions decide if a fish leaves in good shape or gets hurt unnecessarily.
How to Handle Fish Safely After Catch & Release
Safe handling improves a fish’s chances of survival and lessens harm. Always take care to protect its gills, scales, and the slimy layer that fights off sickness. Try to expose it to air as little as possible and be swift when unhooking, measuring, or taking pictures of fish.
-
Keep fish in water whenever possible. Handle the fish under water for unhooking and brief measures. If lifting is necessary, keep the fish out of water for only a short while. Then, place it back in water headfirst for easier breathing.
-
Wet your hands or wear wet, soft gloves before any contact. This helps keep the fish’s protective layer intact. When extra grip is needed, use wet cotton or neoprene gloves. Make sure they’re soaked and cleaned between handling different fish.
-
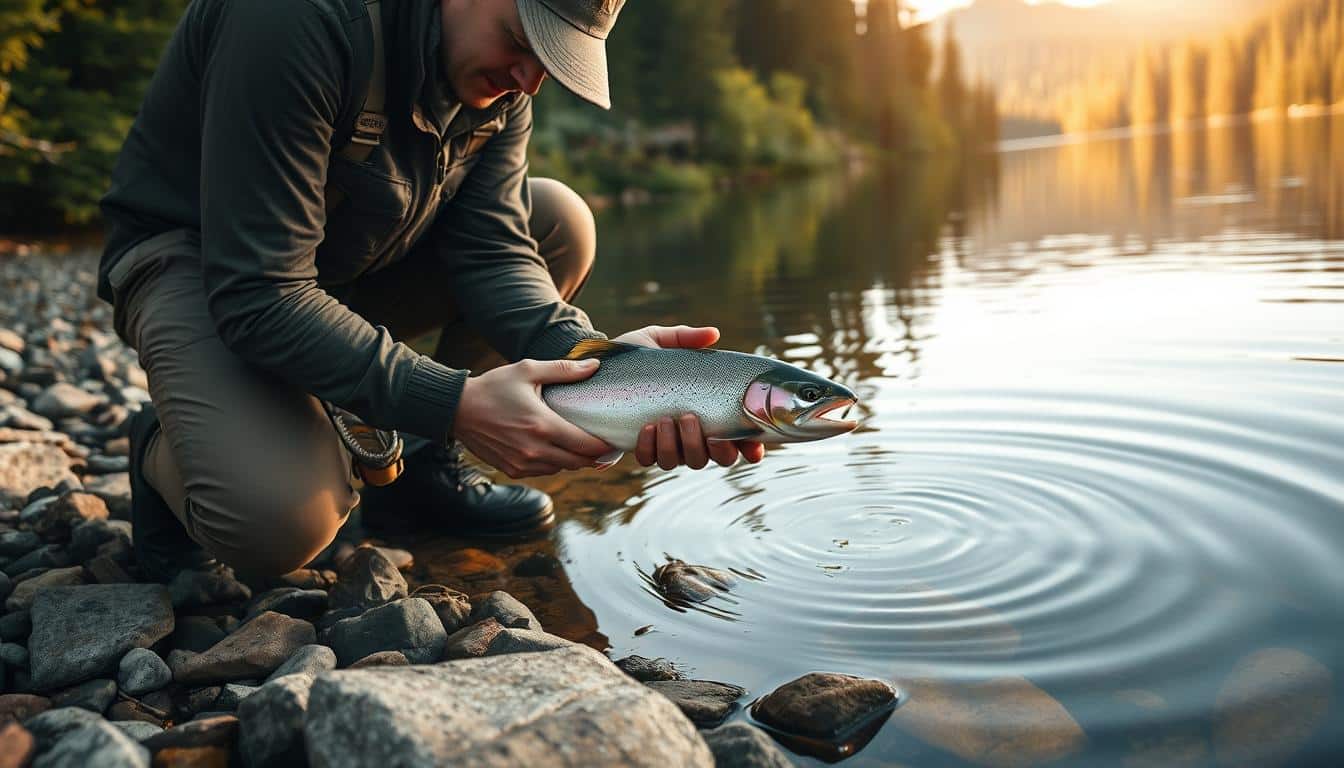
Support the fish horizontally; avoid squeezing, gill or eye contact. Use one hand beneath the belly and another near the tail. This method offers stable support without harming the fish. Avoid touching the fish’s gills or eyes to prevent injuries.
Use long-nose pliers or a dehooker for hook removal, keeping the fish wet throughout. If the fish seems weak, gently hold it in water until it can breathe well. It’s vital to keep the fish moist and help it breathe before letting it go.
In tricky situations like deep or rough hooking, it’s best to cut the line near the hook. This avoids extra harm if pulling the hook out would worsen the injury. Always put the fish’s well-being first, instead of aiming for a perfect photo. Keep handling times short.
Hook removal best practices and what to do with deep-hooks
Quick action on the water helps keep stress and injury low. It’s important to have the right tools and a good plan. This way, you can remove hooks fast with little time out of the water. Having pliers, a dehooker, and wire cutters ready before fishing helps a lot.
Choose gear that reduces deep hooking. Many fishermen like using barbless hooks or crushing the barbs. This makes it quicker to unhook fish and hurts them less. Circle hooks can also lower the chances of fish getting hooked deeply. They help some fish species survive better. The bait you use is important too. Using natural or scented baits may increase the odds of fish swallowing hooks.
-
Tool selection: Bring long-nose pliers, needle-nose pliers for big fish, a dehooker for small fish, and wire cutters to cut lines fast.
-
Prepare a release kit: Keep your tools handy in a pocket or fishing vest. This makes it easier to remove hooks while the fish is still in the water.
Fast, safe hook removal steps. Hold the fish carefully, keep your hands or gloves wet, and use pliers to gently remove the hook. Move smoothly and avoid jerking. If the hook is near the jaw, using a jaw spreader can protect the fish’s gills while you work.
When a hook is deep, cut the line. Researchers say it’s often better to cut the line and leave deep hooks in. This is safer than trying to pull the hook out. Cut the line near the hook and let the fish go. Over time, hooks can fall out or the body can safely absorb them. This way, fish are more likely to survive than if you try to pull out the hook.
-
If the hook is reachable: Quickly remove it with pliers, keeping the fish in the water as much as possible.
-
If the hook is swallowed deeply: Just cut the line and let the fish go. Avoid pulling the hook through the flesh.
-
Record and monitor: If you can, remember where the hook was. Watch the fish when you release it to check for problems.
Knowing how to use your tools is key. Practice removing hooks on old hooks and work with a buddy to get better. Using barbless or circle hooks can mean fewer fish get hooked deeply. This makes it easier and safer to release them when necessary.
Managing bleeding and visibly injured fish
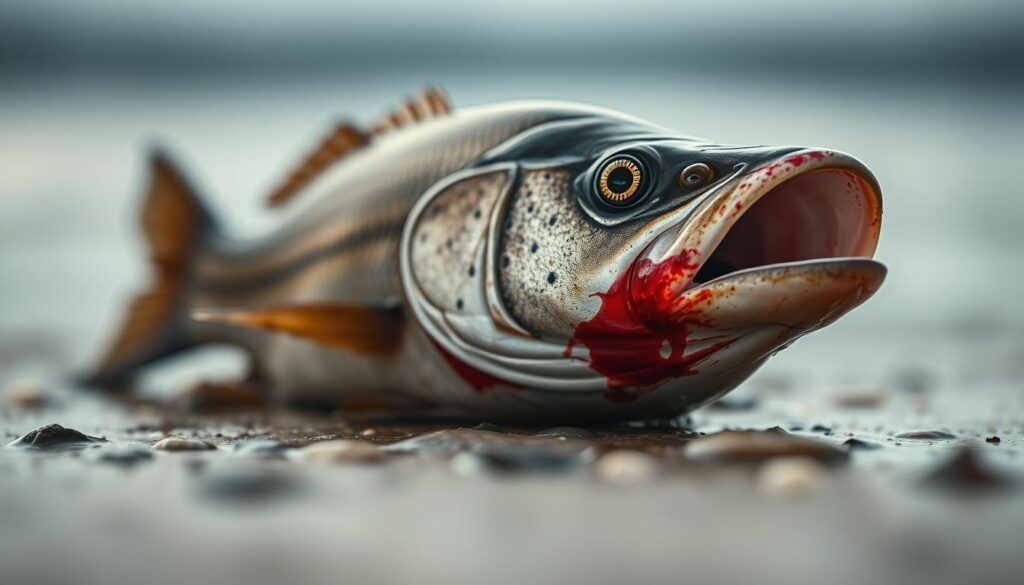
When a fish bleeds after being caught, it may be in danger. It’s crucial for anglers to quickly assess the wound and the location of the hook. Swift action can lower stress and prevent more damage. You should handle the fish gently, reduce the time it spends out of water, and make a smart choice for both the fish and the environment.
-
How bleeding relates to higher mortality risk. Studies have found that heavy bleeding and where the hook is can tell us if a fish will survive after being released. In some cases, a lot of bleeding can greatly increase the chance of the fish dying. Wounds in the gills or throat are particularly bad.
-
Deciding whether to keep or release a bleeding fish. If it’s legal and the fish is bleeding badly, you might need to keep it to prevent it from suffering later on. But if the law says you must release it, handle it as little as possible. Use quick recovery methods in the water. Always make your choice quickly and follow the law.
-
Immediate on-water first aid steps and minimizing additional harm. Try to stop the fish from bleeding too much without hurting it further. If a hook is stuck deep, cut the line near it to reduce pain. When holding an injured fish, keep it in water in a net or cradle and support it from underneath.
Here are some hands-on tips for on the water:
-
Always wet your hands or gloves before handling a fish to protect its outer layer.
-
Use long-nose pliers to remove hooks. If the hook is too deep, it’s better to cut the line.
-
If a fish is bleeding but not too badly, keep it upright in flowing water. This helps it breathe and stabilize.
-
For severe bleeding from gills or throat, think about keeping the fish if it’s legal. It may be kinder than letting it suffer.
-
Store any fish you keep on ice and kill them humanely. Always follow your state’s rules in the U.S. for handling and reporting protected species.
Take notes on any fish you catch with injuries, like where the hook was and how much it bled. Doing so improves how you decide to release fish in the future. Fast and smart help for injured fish can reduce deaths from bleeding and safeguard fish populations.
Preventing and addressing barotrauma and depth-related injury
When fishing deep, sudden pressure changes can hurt fish badly. Their swim bladder gets too big, gas bubbles form in the blood, and they can bleed inside. Fishers must know which fish get hurt the most and make good choices to lessen the hurt.
- Species like largemouth and smallmouth bass, walleye, yellow perch, and many panfish risk more because their swim bladders are closed.
- In Manitoba and Alberta, advice says to be careful past about 7–10 meters deep for walleye and perch. Some also say to not catch and release fish below 30 ft if they’re very sensitive.
- Deep water fishing means fish might not survive as well. So, try to quickly reel them in to keep them strong enough to go back deep.
Why fizzing/venting is discouraged and often illegal
- Venting tries to let gas out by making a hole in the swim bladder. But it can lead to infections, hurt organs, and fish may not live.
- In Alberta and other places, venting is not allowed. Rules prefer safe ways to get fish back deep without hurting them more.
- If fish go back deep fast and carefully, some barotrauma issues fix themselves without adding harm.
Using descending devices and weighted release techniques
- Descending devices are great for many fish. Brands like FishAID and Descend-It help lower fish back to where they were caught and let them go gently.
- For weighted releases, use tools like retrievable weights or cages. Pick something reliable and simple to use, whether you’re on a boat or the shore.
- Do not use livewells for fish with barotrauma. And don’t reel them in slowly hoping they’ll adjust; bring them in fast and return them while they’re still energetic. This helps them survive the trip back down.
Minimizing air exposure and efficient photo/measurement methods
Be quick and sure when handling to lessen stress and help fish survive. Make a plan to keep the fish out of water for as little time as possible. Small things we do on the boat or shore can reduce how long fish are in the air. This protects their gills. This approach is backed by studies from Ontario and western Canada.
Before lifting a fish out, know what you will do next. Manitoba’s guideline suggests keeping it to under 30 seconds for many fish types. Have tools ready so you can quickly unhook, measure, photograph, and release the fish in this time.
Practical steps to meet time goals:
- Place pliers, clippers, and a wet towel close by.
- Have a measuring device ready for in-water use or a pre-moistened bump board.
- If you’re fishing with someone, divide tasks: one handles the fish, and the other manages tools or the camera.
Try to measure fish in the water to avoid taking them out of their environment. You can slide a ruler or calibrated board next to the fish in the water. Always wet the board first or use a floating bump board. This protects the fish’s skin.
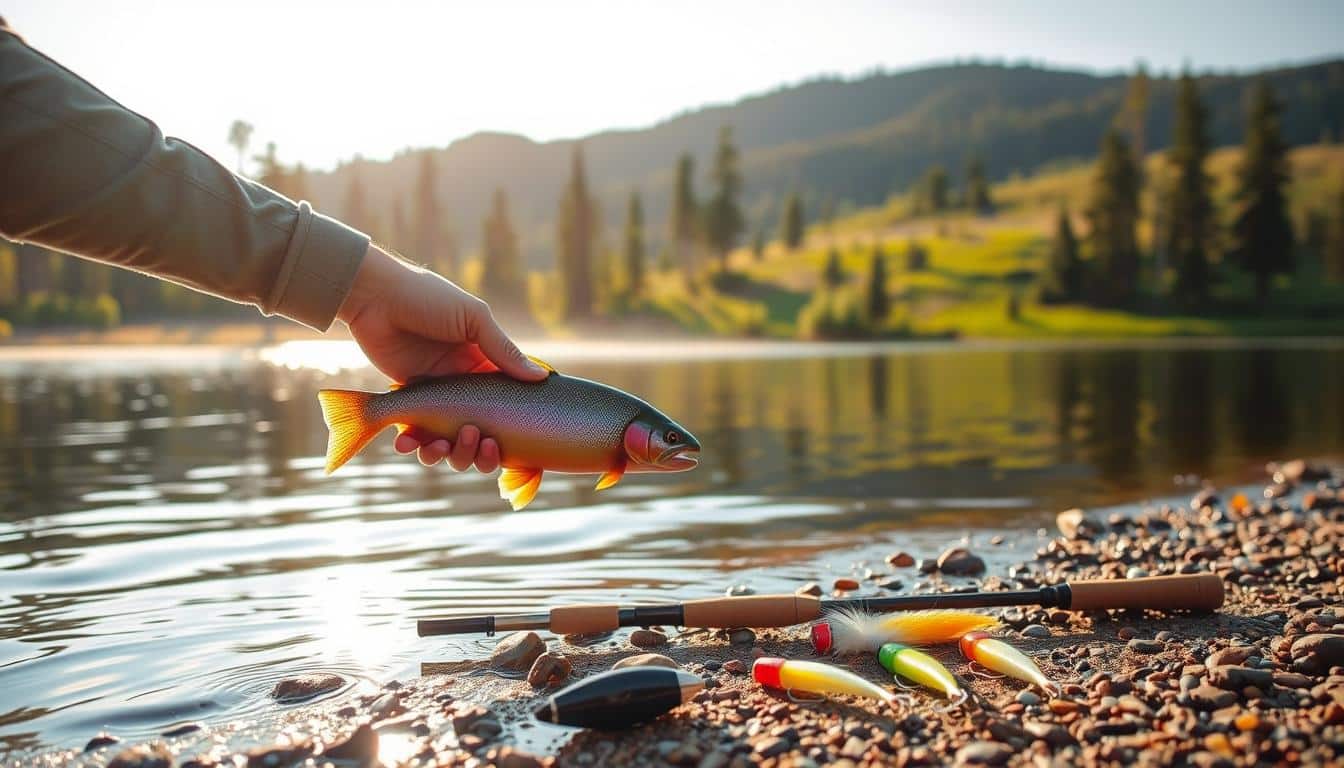
When taking photos, be quick and support the fish well. Hold the fish horizontally with wet hands or gloves. The head should be slightly in the water. Only take a few photos. This method ensures the fish is mostly supported by water or slightly above it.
Every time, go through a quick checklist: prefer in-water measuring, use bump boards that are wet, stick to the 30-second rule, and snap fast photos with the fish wet and supported. These steps cut down on handling damage and protect the fish’s skin and gills. This means they are more likely to do well after being released.
Temperature, seasonality, and timing considerations
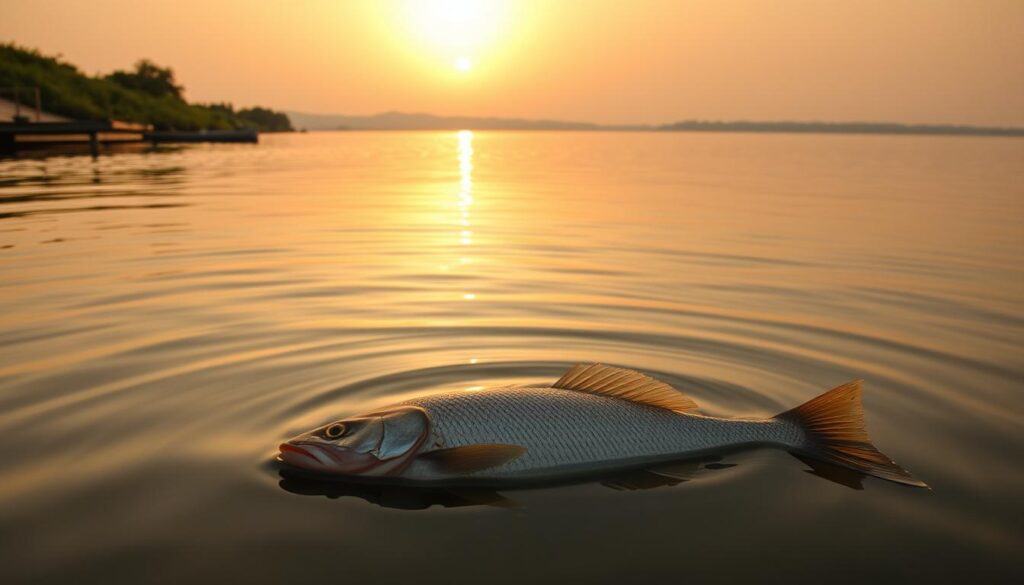
Water temperature is crucial for fish survival after catch and release. Anglers need to be aware of warm water risks when planning fishing trips. They can pick the right time and gear to lessen the impact on fish.
How heat and oxygen affect released fish
When it gets hotter, the oxygen in water decreases, and fish metabolism speeds up. Research shows that fish like bluegill, trout, and bass have a tougher time surviving after being released in higher temperatures. Tournament records for walleye point out it’s best to avoid water above 60°F (15.6°C) for better release survival.
Daily and seasonal timing tips
- Fish early morning or late evening to dodge the highest heat and to find cooler water.
- Look for deeper, cooler areas or shade along the shore in the middle of the day to reduce stress on fish.
- Plan your fishing trips in spring and fall when the conditions are best for fish survival.
Ice-fishing handling and cold exposure
Ice-fishing also poses threats from the cold. It’s important to guard fish from freezing air and limit their time on the surface. Keeping them in water or using an insulated shelter until it’s time for a picture or measurement helps.
Quick field checklist
- Always check the water temperature before fishing and change your plans if it’s too high or too low.
- Using a net to keep fish underwater reduces their stress from air and temperature changes.
- For ice-fishing, act quickly to keep fish wet and avoid placing them on ice or snow.
Being aware of dangers from both warm and cold water can lead to better survival rates after releasing fish. Making smart choices in how and when you fish reduces stress on fish and supports their health post-release.
Species-specific handling notes and special cases
Fish species react differently when caught. It’s essential to handle them based on their anatomy, behavior, and research findings. Making small changes in how you grip, support, or release them can improve their chances of survival. Follow the advice below to provide proper care for each fish you catch.
- Use a thumb-inside-the-mouth hold for small and medium largemouth and smallmouth bass. Support the belly for larger individuals to avoid spinal stress.
- Keep bass in the water for de-hooking when possible and minimize air exposure for better parental care after release.
- Prefer circle hooks or barbless setups to reduce deep-hooking risk during bass handling.
Trout handling
- Use two-hand support for larger trout: one under the belly and one near the tail. This reduces pressure on the jaw and gills.
- Trout handling should keep fish horizontal and wet; their delicate slime layer and skin need protection.
- Trout tolerate depth changes differently from perch and walleye; follow local advisories for depth-related care.
Pike handling
- Pike and muskellunge require a gill-plate hold with abdomen support. Use long-nose pliers for hook removal to avoid hands near sharp teeth.
- When practicing pike handling, never lift large fish vertically by the jaw without supporting the body.
- Consider cutting deeply embedded hooks when removal would cause more damage than leaving the hook.
Walleye and panfish
- Walleye show higher vulnerability to barotrauma. Use descending devices where needed and follow local regulations.
- Panfish like bluegill can suffer eye injuries from certain hooks; circle hooks lower gut hooking but may raise other risks for small species.
- For panfish, a gentle thumb-inside-mouth hold plus belly support keeps handling stress low.
Spawning and nesting fish
- Exercise spawning fish precautions: avoid targeting nests and release spawning fish immediately if accidentally caught.
- Repeated disturbance reduces reproductive success. Limit handling time and avoid moving adults off nests.
- When working near spawning areas, use species-specific handling to minimize disruption to parental care and eggs.
When research suggests alternate practices
- Follow published studies and local guidance. Some species do better when deeply embedded hooks are left in place rather than forcefully removed.
- Where barotrauma risk is high, use descending devices or specialized release methods recommended by fisheries managers.
- Adopt species-specific handling updates as new science emerges and abide by regional advisories from agencies in the United States.
Reviving and releasing fish: when and how to revive in the water
Some fish need extra care after a long fight or being pulled from deep water. Experts from places like Casselman, Manitoba, and Alberta say that being tired and out of water can make it hard for fish to breathe and make them weak. Watching carefully and using the right steps to help can make a big difference.
- Signs a fish needs assisted revival
If a fish swims poorly, can’t dive, breathes slowly, or flips over, it needs help. Fish floating upside down or that don’t move when touched particularly need assisted release.
- Proper revive technique
Keep the fish level, holding its belly and tail. In moving water, face it into the stream or gently move it back and forth in calm water. This helps get oxygen to its gills. Wait till you see normal gill movement, the fish balances itself, and starts to swim strongly before letting it go.
- When to use a recovery cradle and other tools
Use a recovery cradle or a floating device for big or delicate fish. This helps keep the fish safe in the water while you check its breathing. A cradle also makes it easier for anglers handling big fish like trout, salmon, or saltwater creatures.
- Descending device use for barotrauma
Fish with bulging eyes or swollen stomachs likely have barotrauma. It’s better to use a descending device to help them than to try venting. This tool helps balance the pressure and can save fish that got hurt coming up too fast.
Remember to keep the fish out of air as much as possible, hold it the right way, get water moving over its gills, and make sure it breathes normally before you free it. Make these steps a habit whenever you fish.
Keep up the gentle revival if you’re not sure the fish is okay. Taking your time and being careful can help ensure the fish gets back to health and returns to the wild.
Conclusion
This catch-and-release conclusion offers clear, practical steps for anglers. It combines research from Casselman, Manitoba, and Alberta. Key tips include using the right tackle, opting for barbless or circle hooks, and reducing fight time and air exposure.
It’s vital to handle fish with wet hands, support them horizontally, and have pliers, nets, and descending devices ready. These simple practices lead to better outcomes for the fish.
A summary on safe fish handling suggests making smart choices: avoid fishing in hot water, be careful with fish caught deep, and don’t vent barotrauma—use a descending device. Limit handling to under 30 seconds for pictures and measurements. If keeping fish, kill them quickly and store them cold. These actions help avoid delayed death and negative effects on fish growth and breeding.
By following these best practices, anglers can boost release survival and aid sustainable fishing throughout the U.S. While not every fish is guaranteed to survive, using these tested techniques consistently—like short battles, gentle netting, quick unhooking, and correct revival—helps maintain healthy fisheries for future trips and for coming generations of fishers.
FAQ
Why does careful handling matter for catch-and-release survival?
How common are delayed deaths after catch-and-release?
What are sub-lethal effects of catch-and-release I should know about?
How do fisheries management and regulations relate to safe handling?
What should I check before I go fishing?
What tackle and gear choices reduce fish stress?
What belongs in a good release kit?
How should I land fish to minimize stress?
How do landing techniques differ for shore, boat and kayak anglers?
Should I keep fish in water while handling?
How should I touch or support a fish safely?
Are circle hooks or barbless hooks better?
What is the best way to remove hooks?
When should I cut the line and leave a hook in place?
How does bleeding affect survival and should I keep a bleeding fish?
What immediate steps help a bleeding or injured fish?
What is barotrauma and which species are most at risk?
Why is fizzing/venting discouraged and sometimes illegal?
How do descending devices work and when should I use them?
How long should a fish be out of the water for photos or measurement?
What are best practices for in-water measuring and photographing?
How does water temperature affect post-release survival?
What seasonal or time-of-day precautions should I take?
How should I handle species-specific needs for bass, trout, pike, walleye and panfish?
What extra care should I take with spawning or nesting fish?
When should I revive a fish and how do I do it?
When should I use a recovery cradle or descending device during revival?
Content created with the help of Artificial Intelligence.

